

Do you ever feel frustrated by stubborn under-eye bags and dark circles? Many people, in fact, struggle to find a natural, flawless solution. Traditional concealer often settles into fine lines. Furthermore, it can look heavy or even cakey. Finding a truly seamless finish seems impossible for many.
However, there’s a professional secret. This technique is, in fact, game-changing. Celebrity makeup artists and their A-list clients rely on it heavily. They call this method the “Press-and-Roll” concealer hack. It promises an unparalleled, creaseless finish. Additionally, it truly looks like your own skin. You can learn more about effective makeup techniques and how they enhance natural beauty by visiting reputable beauty resources like Allure.com.
This article will demystify this popular technique. Therefore, we will explain its unique benefits. You will also get a simple, step-by-step guide. Consequently, you can master the “Press-and-Roll” method at home.
The Perennial Problem: Why Under-Eye Bags Persist
Under-eye bags and dark circles affect many individuals. Several factors contribute to their appearance. For instance, genetics often play a big role. Lack of sleep is another common culprit. Dehydration, moreover, can also make them worse. Allergies sometimes cause puffiness and discoloration. Furthermore, as we age, skin thins. This then makes blood vessels more visible. Additionally, fat pads under the eyes can shift.
Many people try to hide these concerns. They often use traditional concealer application. Yet, typical methods frequently fall short. For example, swiping or rubbing product around can pull the delicate skin. Applying too much product at once, furthermore, leads to problems. It can settle into fine lines. Consequently, this makes bags look more prominent. It also often looks heavy or artificial. Moreover, the coverage may not last throughout the day either.
Unveiling the “Press-and-Roll” Concealer Magic
The “Press-and-Roll” technique is more than just applying concealer. Indeed, it’s a precise method. It focuses on blending and setting. Therefore, this technique prioritizes a natural finish and long wear.
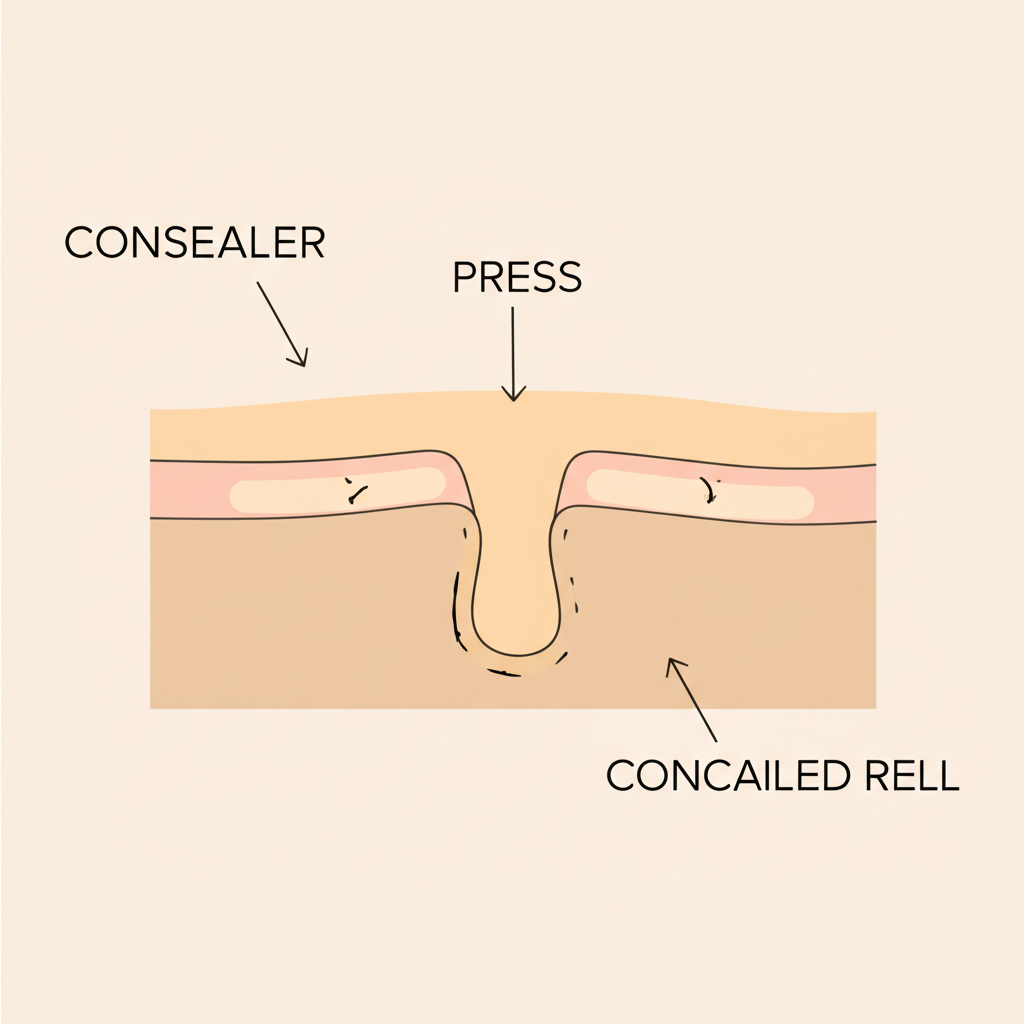
Its core principle is quite simple. You build thin, uniform layers. First, you press the product into the skin. This action maximizes adhesion. Then, you gently roll to blend seamlessly. Consequently, this ensures minimal movement and creasing. The concealer effectively becomes one with your skin.
This technique differs greatly from standard approaches. Specifically, it emphasizes controlled application. It also focuses on integrating the product with your skin. Therefore, this creates a flexible, natural look. It thus avoids a painted-on appearance.
| Controlled Application | You use very small amounts of product. |
| Skin Integration | The concealer melts into your skin, not just sits on top. |
| Reduced Creasing | Product adheres better, filling lines rather than settling. |
| Natural Finish | Layers are thin, so it looks like skin. |
| Extended Wear | Better adhesion means the concealer lasts longer. |
Step-by-Step Guide to Mastering the “Press-and-Roll”
Mastering this technique takes a little practice. However, follow these steps for best results. You will then achieve a smooth, bright under-eye area.
Prep Your Canvas
- Hydration is Key: Apply a lightweight eye cream. A hydrating primer also works well. Gently tap it around the orbital bone.
- Absorption Time: Allow all skincare products to fully absorb. Wait a few minutes. This prevents pilling. It also stops product slippage. Consequently, your concealer will then stick better.
Strategic Concealer Application
Choose the right product. Then, apply it carefully. Remember, less is often more with this method.
- Product Choice: Select a good concealer. For brightening, pick a shade slightly lighter than your skin. Conversely, for concealing, match your skin tone. Choose a creamy, hydrating formula; medium-to-full coverage works best.
- Minimal Application: Apply a tiny amount. Focus only on areas needing coverage. Target the inner corner. Place some directly under the darkest part of the bag. A little bit on the outer corner is also helpful. However, avoid drawing a large, heavy triangle.
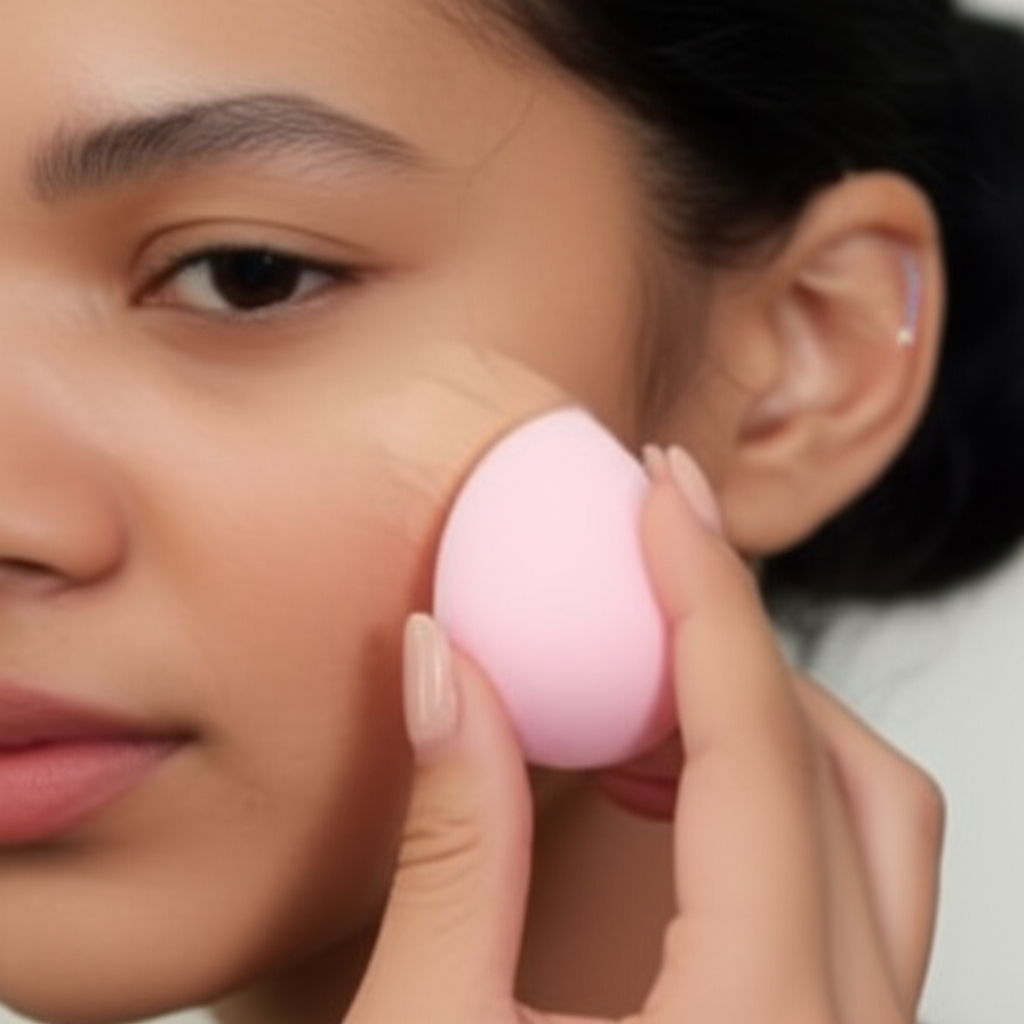
The “Press” Motion
- Tools: Use a damp, pointed beauty sponge. A clean, warm ring finger also works well. Both provide precision; furthermore, they help achieve a natural finish.
- Technique: Gently dab the concealer. Use a pressing motion. The goal is to melt the product. Push it into the skin. Do not spread it on top. This technique ensures good adhesion. Ultimately, the concealer will look like skin, not makeup.
- Focus: Press precisely where you applied the concealer. Build coverage slowly. Consequently, you can add more if needed.
The “Roll” Motion
- Seamless Blending: After pressing, gently roll your damp sponge or finger. Move slightly outwards or downwards. This action feathers the edges of the concealer.
- Purpose: This motion blends the product smoothly. It removes any harsh lines. Furthermore, it creates a soft, natural transition. The concealer blends into your surrounding skin.
- Light Touch: Use extremely light pressure. Avoid dragging or disturbing the product. Instead, you simply want to diffuse the edges.
Set for Longevity
Setting your concealer makes it last. Specifically, it prevents creasing throughout the day.
- Setting Powder Selection:1 Choose a finely milled powder. A translucent formula is best; moreover, this avoids adding color.
- Application Method: Lightly dust the powder. Use a small, fluffy brush. Alternatively, gently press it in with a damp sponge. This can create a ‘baking’ effect. However, avoid a heavy layer.
- Avoid Over-Powdering: Do not use too much powder. Excessive powder can make your under-eyes look dry. It can also appear cakey. Additionally, it might accentuate fine lines.
The Science Behind the Smooth: Why This Hack Works
The “Press-and-Roll” method isn’t just a trick. Indeed, it relies on sound makeup principles. Therefore, these principles help achieve its flawless results.
| Reduced Creasing | Pressing the product into the skin helps. This fills fine lines and pores. Consequently, it creates a smoother canvas. The concealer adheres better, which significantly reduces creasing later on. |
| Optimal Adhesion | The warmth from your skin assists this process. A damp sponge also helps. It allows the product to melt and stick better. This enhances longevity; moreover, it creates a true skin-like finish. |
| Thin Layers Principle | Applying in thin, buildable layers is crucial. This prevents cakiness. It also allows for more natural, flexible coverage. Thus, the concealer moves with your skin, not against it. |
| Seamless Integration | The rolling motion spreads the product evenly. It prevents patchiness. This ensures a smooth transition. Therefore, concealed areas blend perfectly with unconcealed skin. |
Why does my concealer always crease?
Many people ask this question. Concealer often creases when it sits on top of the skin. It can also crease if you use too much product. However, the “Press-and-Roll” method pushes the product into the skin. This fills lines. Furthermore, it ensures thin layers. Consequently, this significantly reduces creasing.
Elevating Your Application: Pro Tips & Product Picks
Beyond the technique, product choice and avoiding common errors matter significantly. Indeed, these elements further elevate your application.
Choosing the Right Concealer
| Hydrating Formulas | Best for dry or mature skin; furthermore, they prevent dryness. |
| Radiant Formulas | Add a subtle glow. They can also brighten dull areas. |
| Matte Formulas | Ideal for oily skin; consequently, they offer long-lasting coverage. |
- Color Correction: For severe discoloration, use a color corrector first. Peach or orange tones, for example, cancel blue/purple circles. Apply a very thin layer before your concealer.
- Flexibility: Look for flexible, non-creasing formulas. Many brands now offer products specifically designed for the under-eye area, therefore ensuring better results.
Essential Tools for Success
| Damp Beauty Sponge | This is highly recommended. It offers superior blending capabilities. The dampness helps the product melt into the skin; additionally, it prevents the sponge from absorbing too much product. |
| Ring Finger | Your ring finger offers natural warmth. This warmth aids in melting and blending product. Furthermore, it is also the gentlest finger, which is good for delicate under-eye skin. |
| Small Setting Brush | Use this for precise powder application. It allows for a light dusting. Consequently, this prevents over-powdering. |
Common Mistakes to Avoid
| Over-application | Less is truly more with this technique. Start with a tiny dot. Instead, build up coverage slowly if needed. |
| Skipping Prep | A hydrated base is essential. Dry skin will make concealer look cakey. Furthermore, it will also settle into lines. |
| Rubbing/Dragging | Always stick to pressing and rolling motions. Rubbing can irritate skin; moreover, it moves the product instead of blending it. |
| Incorrect Shade/Formula | The wrong product can undermine the technique. A too-light or too-dry concealer, for example, will not look natural. |
| Not Setting (or Over-setting) | Find the right balance. Setting powder provides longevity. However, too much powder can cause cakiness, while too little may lead to creasing. |
Beyond the Hack: Holistic Approaches to Under-Eye Care
The “Press-and-Roll” hack is a fantastic cosmetic solution. However, combining it with good holistic practices yields even better long-term results.
- Complementary Practices: While makeup provides instant improvement, these practices address the root causes directly.
Lifestyle Factors:
- Adequate Sleep
- Aim for 7-9 hours of quality sleep.
- Proper Hydration
- Drink plenty of water throughout the day.
- Balanced Diet
- Eat nutrient-rich foods; for example, include antioxidants and vitamins.
Skincare Routine:
- Incorporate gentle, eye-specific skincare ingredients.
- Hyaluronic Acid
- Provides deep hydration.
- Peptides
- Help improve skin firmness.
- Retinoids
- Can improve skin texture and reduce fine lines. (Use with caution and consult a dermatologist.)
- Sun Protection: Always apply daily SPF around your eyes. This prevents premature aging. It also stops hyperpigmentation. Remember, sun damage can worsen dark circles.
Conclusion
The “Press-and-Roll” concealer method is incredibly effective. Indeed, it offers transformative power for your under-eye area. This technique helps achieve a flawless, natural, and lasting finish. Ultimately, it truly makes a difference.
This hack was once a celebrity secret. Now, however, it is accessible to everyone. You can thus achieve those coveted smooth, bright under-eyes. It just takes a little practice and the right approach.
Experiment with this technique today. Find your perfect product pairing. Enjoy your newfound confidence. Say goodbye to creased, cakey concealer. Welcome bright, smooth under-eyes!
Frequently Asked Questions (FAQ)
- Q1: How long does the “Press-and-Roll” technique last?
- A1: When applied correctly and set, this technique significantly extends wear, often lasting a full day without noticeable creasing or fading.
- Q2: Can I use any concealer with this method?
- A2: Creamy, hydrating formulas work best. Very thick or overly matte formulas may be harder to blend seamlessly.
- Q3: What’s the best tool for the “Press-and-Roll”?
- A3: A damp, pointed beauty sponge is generally best. Your clean, warm ring finger also yields excellent results due to its natural warmth.
- Q4: Will this method work on mature skin?
- A4: Yes, absolutely! This technique particularly benefits mature skin, minimizing creasing and preventing settling into fine lines for a smoother, youthful appearance.
- Q5: Do I need to use a setting powder?
- A5: A finely milled translucent setting powder is highly recommended. It locks concealer in place, prevents creasing, and extends wear. Longevity may reduce if skipped.
- Q6: How much concealer should I use?
- A6: Start with a very small amount, typically a tiny dot or two. The key is building thin layers; adding more is easier than removing excess.
- Q7: Can this technique hide very dark circles?
- A7: Yes, it effectively hides dark circles. For severe discoloration, consider using a thin layer of color corrector (e.g., peach) before applying concealer with this method.
- Q8: What if my concealer still creases a little?
- A8: Gently press a clean, damp sponge or finger over the creased area before setting. Natural skin movement is sometimes unavoidable, but proper application greatly minimizes it.
- Q10: Can men use this concealer hack too?
- A10: Absolutely! This gender-neutral technique benefits anyone seeking to naturally reduce under-eye bags or dark circles.